It is that time of year, when the nights are long, that we all look upwards in the night sky and see more of the moon. We are all more than aware of the many photographs out there of the moon and many of you may be wishing to know how easy it can be? How do you photograph the Moon?
Most people use a smartphone for photography and photos of the moon, especially closeups, are for the moment, out of reach of our pocket cameras.
The subject of what is a perfect photo of the moon is very subjective. I will show below how I do mine and how others play trickery to make it bigger, i.e exaggerating a supermoon to make it bigger, in a set position above a landscape.
Camera
First, the camera. Lots of zoom is the key if you want a picture of just the moon. In a DSLR or interchangeable lens format, you may know it as focal length.
The old, way back when we were young, frame view for a camera was 35mm. This is what all the mm figures are based around. So if you have a lens or camera that is set at 70mm then you are zoomed in x2. (For the photographers out there, I know it can depend on frame size as well but this is a rough idea). For a pic of just the moon I would say 300mm at a minimum is required to start getting detail and a cropped moon photo.
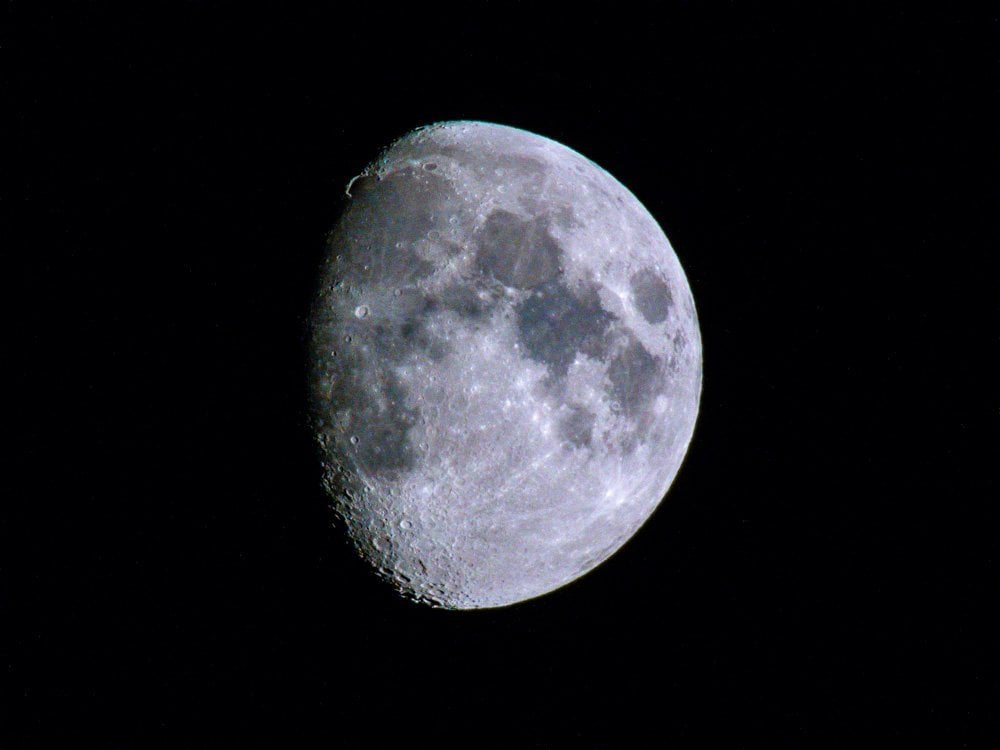
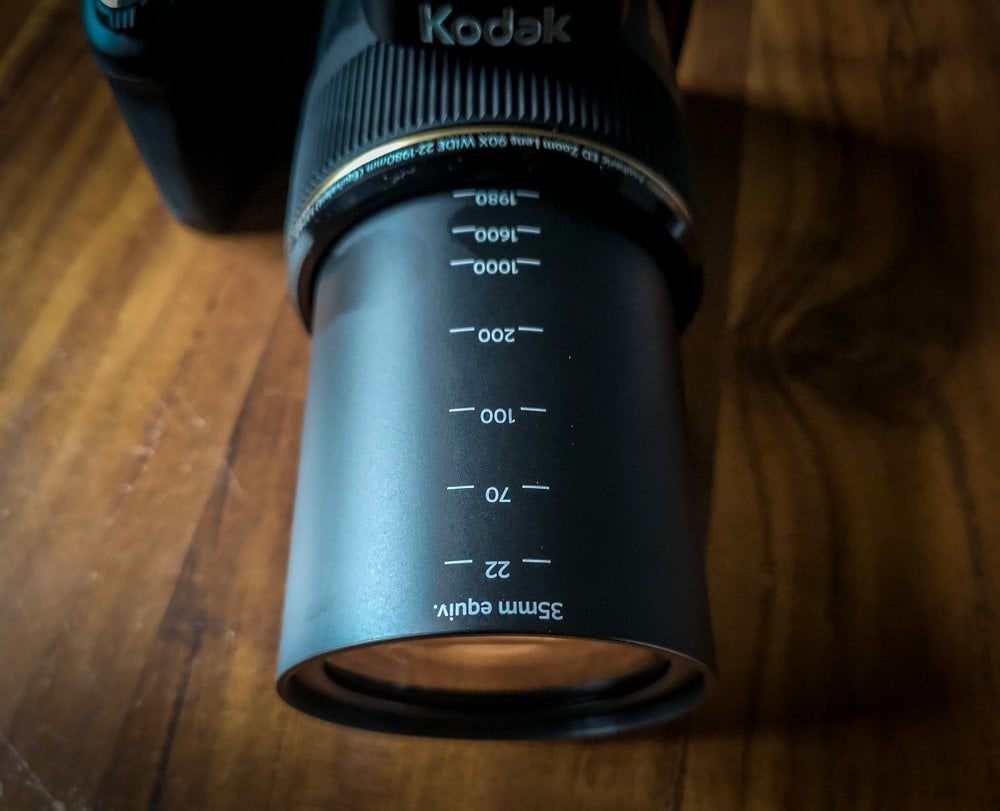
For this moon shot I thought it was a perfect way to use the Kodak PixPro AZ901 Astro Zoom. It has 90x Optical Zoom! Yes that is equivalent to a whopping 1980 mm. More than enough for precision and detail.
As in any photography that you want detail I would always use a sturdy tripod, using the timer on the camera or a remote shutter. This then stops any slight blur when pressing the shutter button.
Camera Settings
We must have all taken a photo in a darkish room where there is a light bulb on. The result is normally a darker room with the bulb way overexposed and washed out bright. This is an effect the moon in the dark sky can have in a photo that uses auto settings on the camera. You get a white blob. First rule I have learnt, shoot in RAW, not JPEG, it helps so much if you know you want to edit afterwards.
I, personally, put the camera in manual mode. Set the aperture to F11, The ISO as low as possible, 100 or 200 depending on your camera make. Then put the shutter speed at a starting point of 1/250.
I use auto focus to get the moon in focus, easier when it is the only thing in the frame.
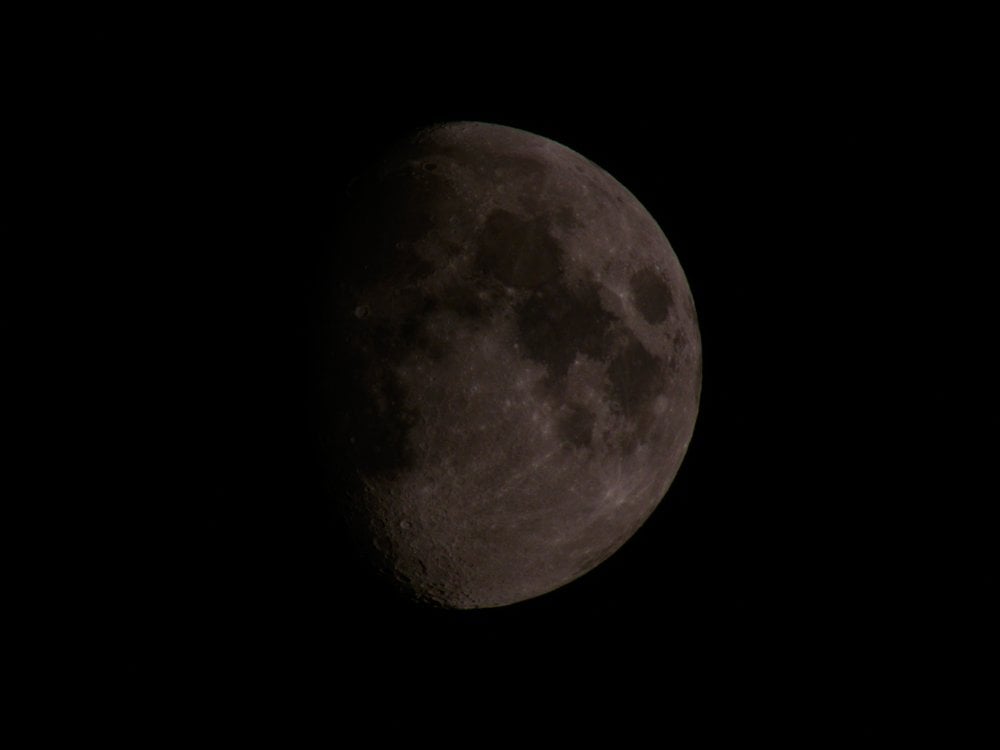
I then keep taking shots at differing shutter speeds from the starting point that capture the moon without blowing it out or getting blur. I never worry too much if the moon looks dark at this stage. Easier to fix an underexposed moon than get detail from one too overexposed. In fact the image at the top of this post was like this:
Editing
I never use Photoshop myself, I don’t have time to manipulate, I just want to edit, make pop a little and post, but below I will talk about how people use it to enhance their moon pics. To edit the above pic for social media I used Lightroom. But most good photo apps have these settings to play with.
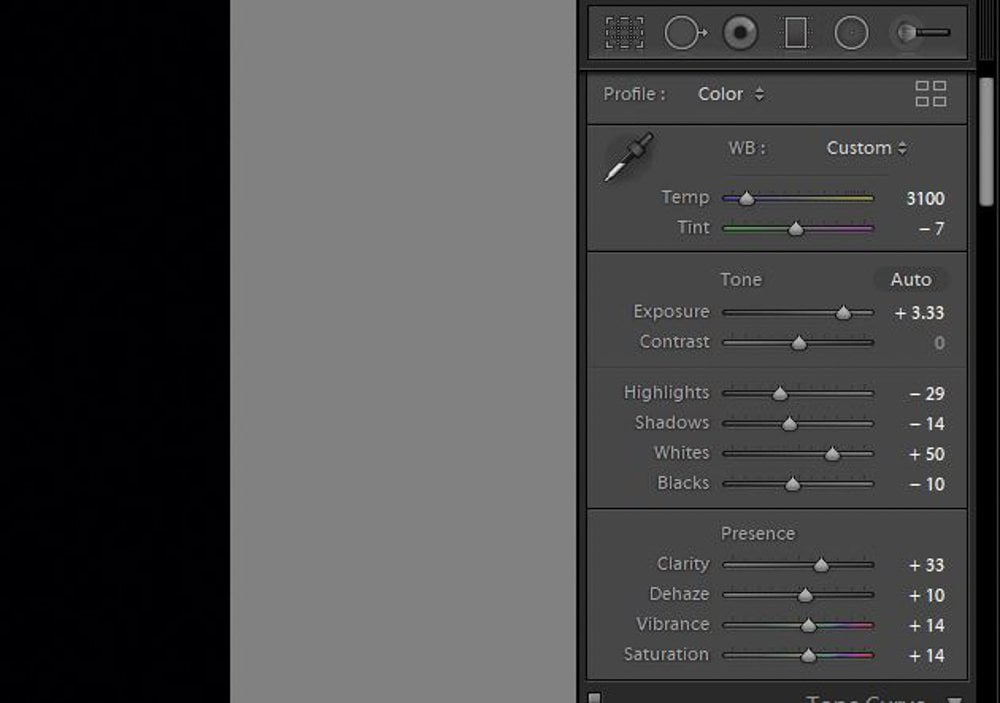
See, I didn’t have to do too much. In fact a lot of these settings are to get the colours as the eye sees it, not as the camera sees it. I would play around with these sliders to get the finish that you personally like. An app like Snapseed has the sliders above too if you are on the go or in a hurry.
If You Want Art?
I do not use photoshop myself but to create an art shot or a shot that tricks the eye with the moon, then photoshop is the way to go. The Supermoon is a prime example. Have you ever waited for the supermoon then think that the moon is actually, still small, in the sky? Well it is. Plus have you noticed the moon is always in the perfect place by a landmark in the pics you see? Well it may not be there in reality.
What you need to do here is take two photos. One of the moon a little zoomed in to make larger. Then take the landscape photo you want the supermoon to be in. Then layer one over the other to get a landmark or landscape with a huge supermoon.
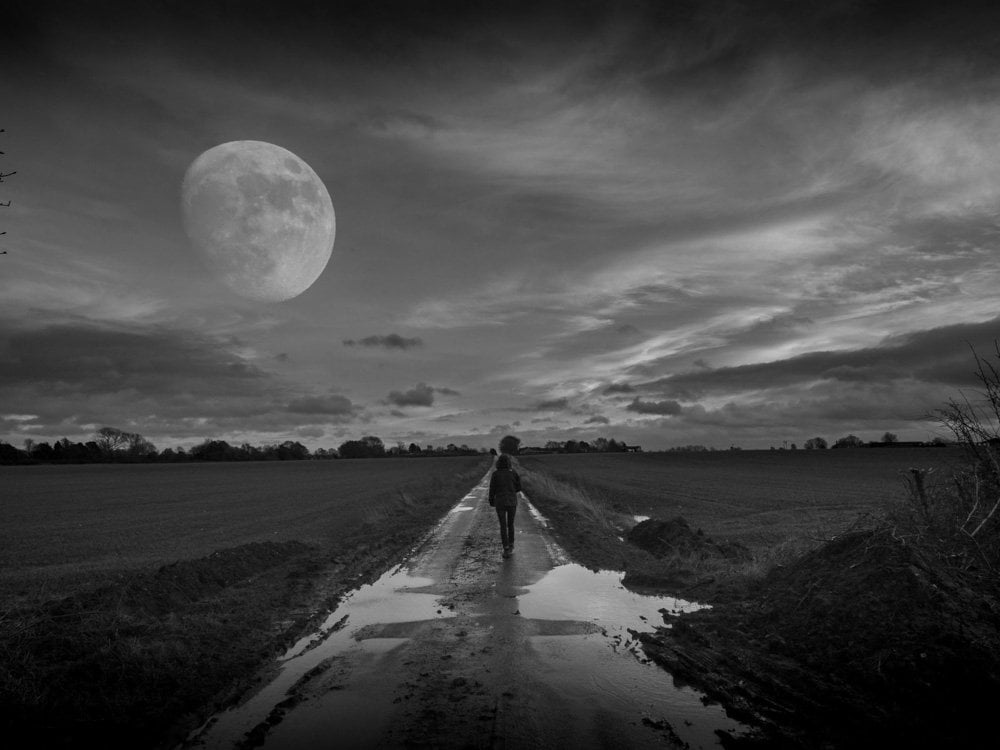
In fact, some system cameras come with the functionality now, no photoshop required! I did one in five minutes (exaggerated) above. You find the setting in the camera if it has it, take a pic of just the moon on a plain sky with a zoom lens, then take one of a wider landscape with the camera letting you see where the original pic layers over the top, and the camera puts it all together….
I would not use this in public without disclaimers as it feels too fake to me or for my style 🙂
Summary
I wrote this post due to many non photographers asking me how I do my pics. The end result is very subjective and the editing is your own call. But, with a zoom lens, patience, and a little practice I hope you will start taking your own moon photos in no time 🙂
If you want to know more details on the Kodak Astro Zoom camera you can check out the Kodak website here.