I love to hike, I love to travel, I love to share what I can see. I am definitely not a pixel counter and personally, for me it is not about spending hours getting a sell-able shot that can be blown up and printed to A3, but to get a nice unique photo of where I am, what I see and what I am feeling.
Whenever I go out the door on any kind of adventure be it local or far away in foreign lands, I make sure I have at least one camera. A lot of the time it is my mobile phone, and for sharing ‘live’ pics on the go to social media or to be shrunk to fit on this website it is more than perfect.
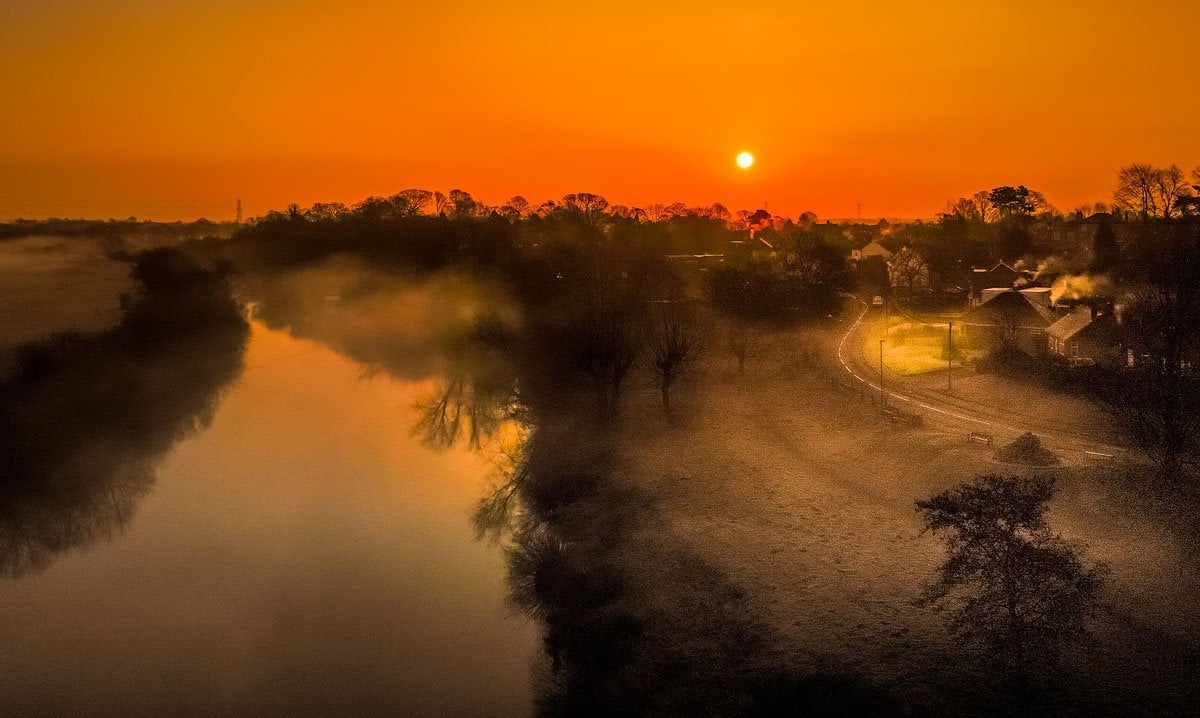
When it came to choosing a drone to get much different photo angles and views, I chose the DJI Mavic Air. I looked at every option available and as well as cost, the value I would get for quality fits me perfectly. I shall explain as I go along here.
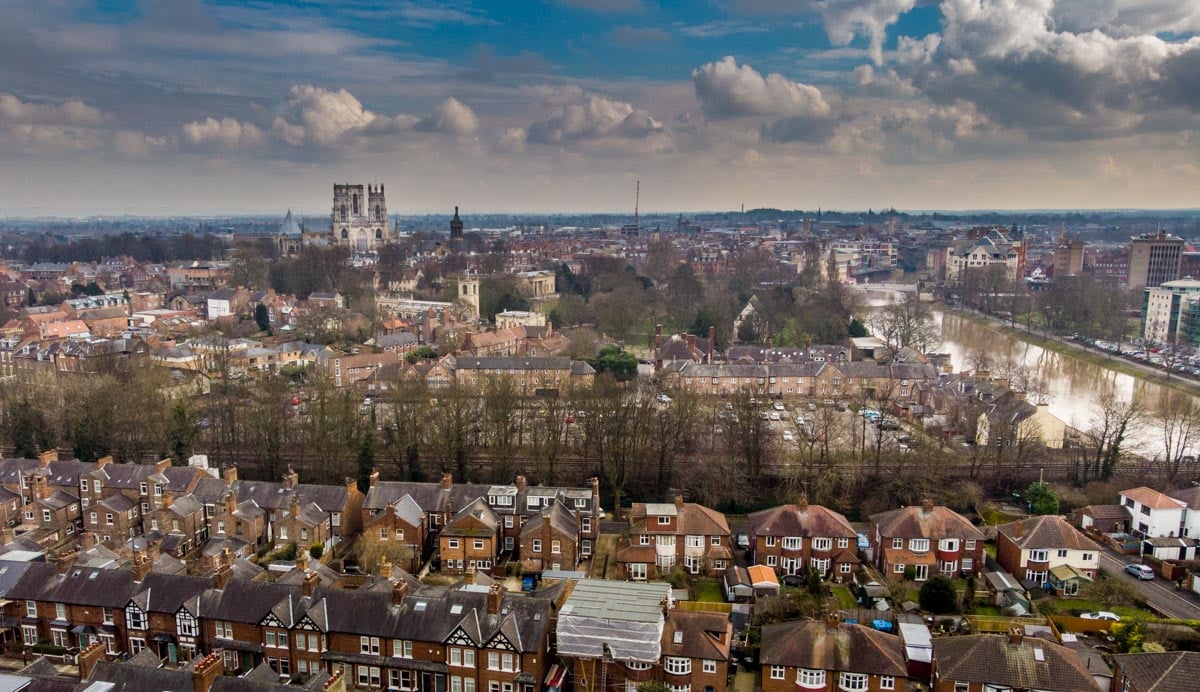
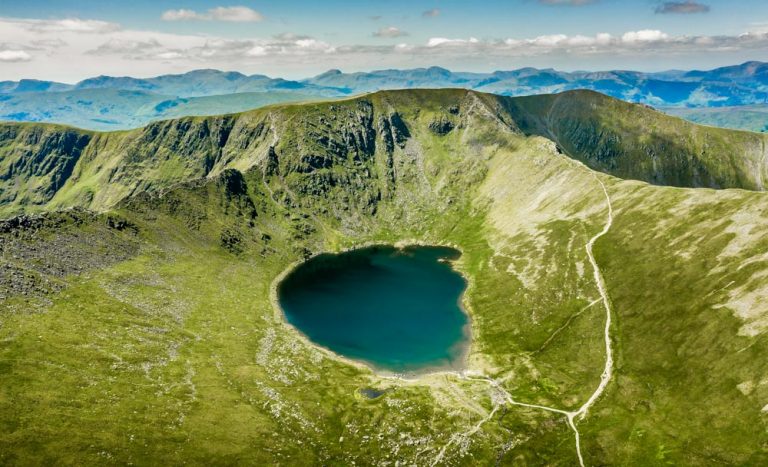
Before I set off on travels for 2018 I have been in practice mode. Getting used to flying the drone as well as learning all the controls, not just for flying but for the camera. The results so far are throughout this post as you can see. I cannot wait to get out on the trails and mountains to get some footage and photographs that normal standing views cannot get.
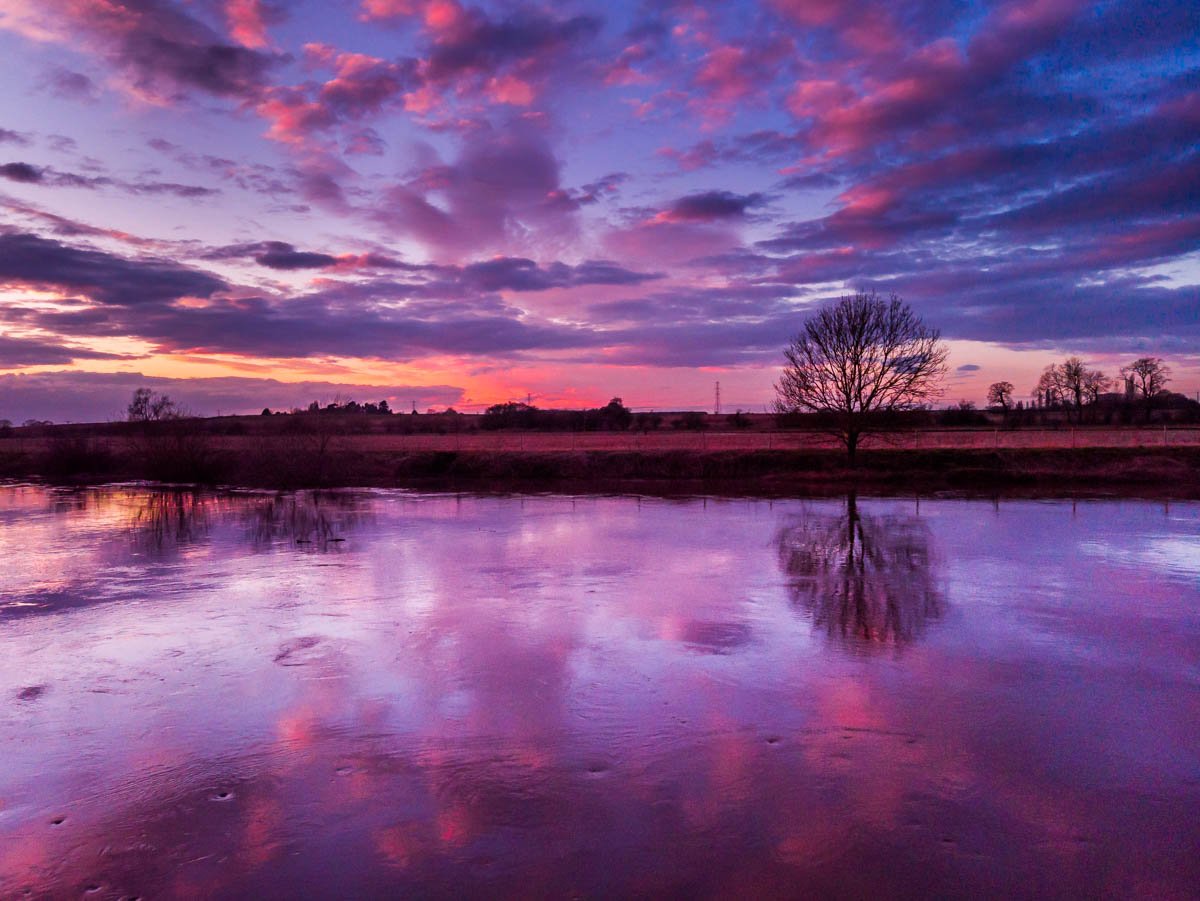
Take this sunset for example. It seems taken, perhaps with phone, from a standing height. No, to get that nice reflection I saw in the river I needed to be above the water itself, beyond a few bushes on the riverbank. The drone was in my backpack so I could jump over them 🙂
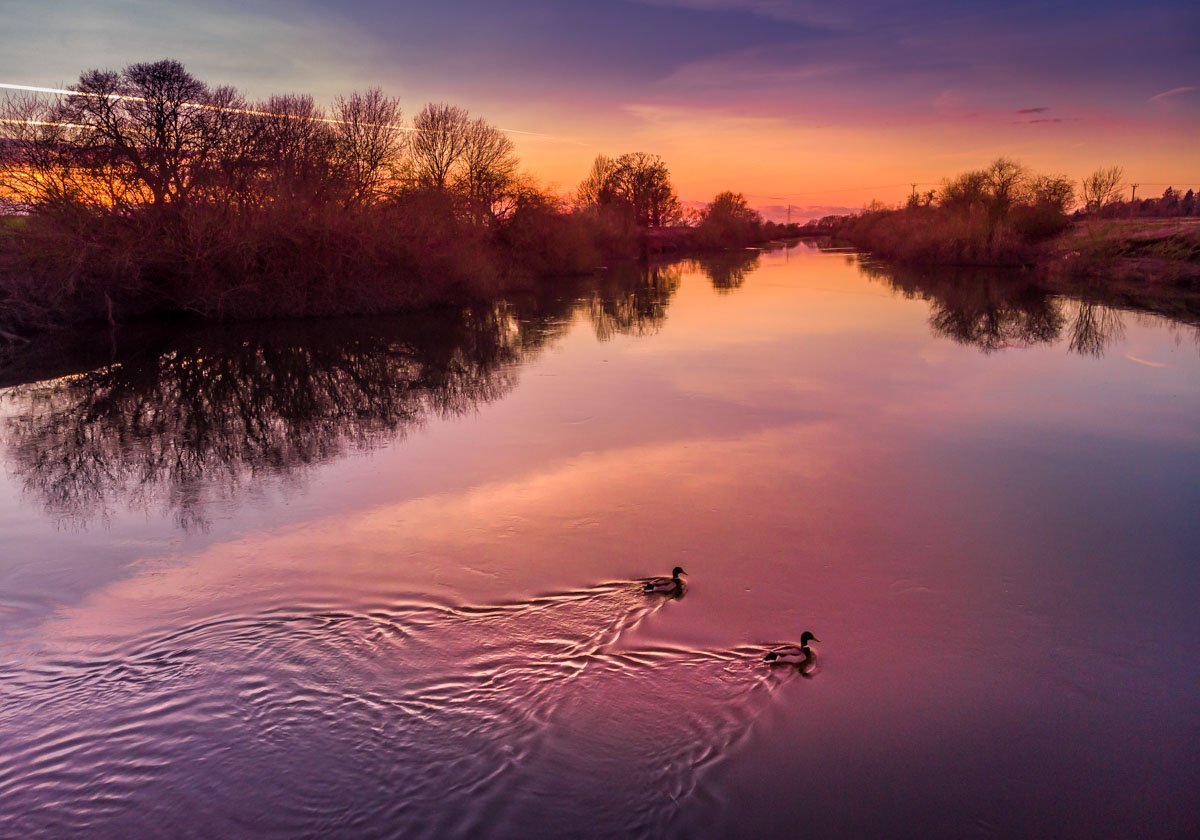
The DJI Mavic Air Camera
The geeky tech websites will say that you need to pay a lot more for the DJI Phantom or Mavic Pro etc to get super photos, but, not only is that hundreds of pounds more, it is like saying you must always have a top DSLR rather than ever use your phone camera. Phones take great pics for social media and the equivalent in drone is good for me. The DJI Mavic Air has a 12 MP camera with a 1.2/3″ sensor. You have a more than capable auto mode but as you play you can go into manual mode quite easily. You can adjust all you wish before you get that photo. Exposure, shutter speed, ISO, white balance and modes including HDR, burst, 360 panorama and plenty more! The shutter goes down to 8 seconds, and on a fairly windless evening I had a go at 6 seconds of the village. Not bad tripodness for such a long exposure from something flying up above in the breeze!
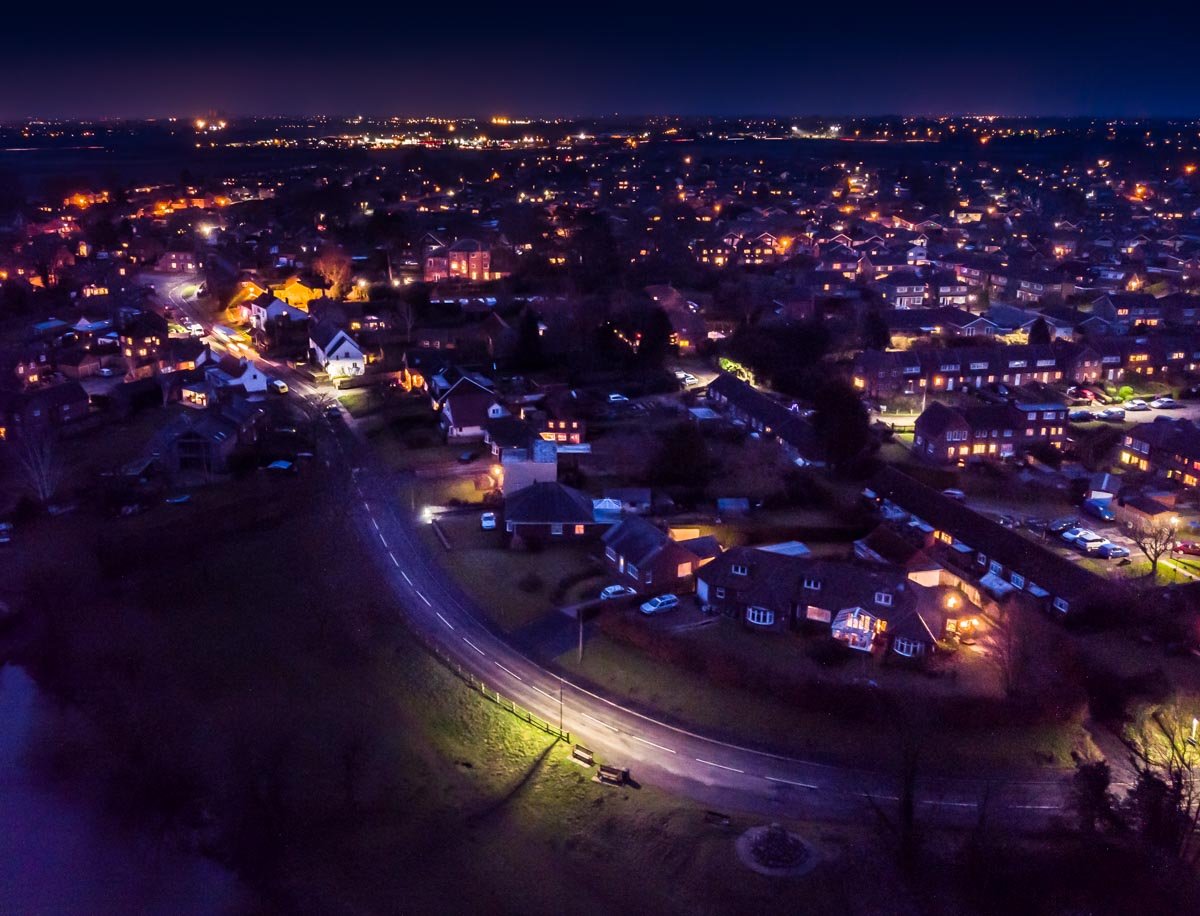
Please note that the DJI Spark on the other hand is a superb entry level small drone. Less than 500 pounds will get you the same sensor, same MP, in fact having used both, the bigger differences are in Video. 4K in the Mavic air as opposed to HD in the Spark. 120 fps slo-mo on the Air plus the Spark has a two axis gimbal as opposed to three. A big for me was the RAW photo capabilities of the Mavic Air. Also of course there is the 300 pounds extra on the Mavic Air to consider. For pro and commercial photographers wanting a bigger sensor they would have to go well above the Mavic Pro even into the thousands of pounds for a Phantom or Inspire. It is a minefield when first viewed but there now seems to be a DJI drone for all levels now.
Why then DJI?
Nobody comes close to them (in my personal opinion), yet. drone flying gets a bad press from some quarters due to a small number of people using them irresponsible for example near airports, tut tut.
When I turn my DJI on and I am in a restricted area or somewhere I should be real careful of the drone rules, believe me, my controller (via phone) will tell me! or may even not let me take off due to it knowing where I am. DJI has done a super job of working with authorities around the world to work together and avoid as much as possible any hazardous moments. Other makes, and I did look at alternatives, take shortcuts on battery, build quality, obstacle avoidance (important), misleading HD quality claims (much like HD TV ads). They may seem cheaper but you ‘could’ get a less reliable drone and camera for your money.
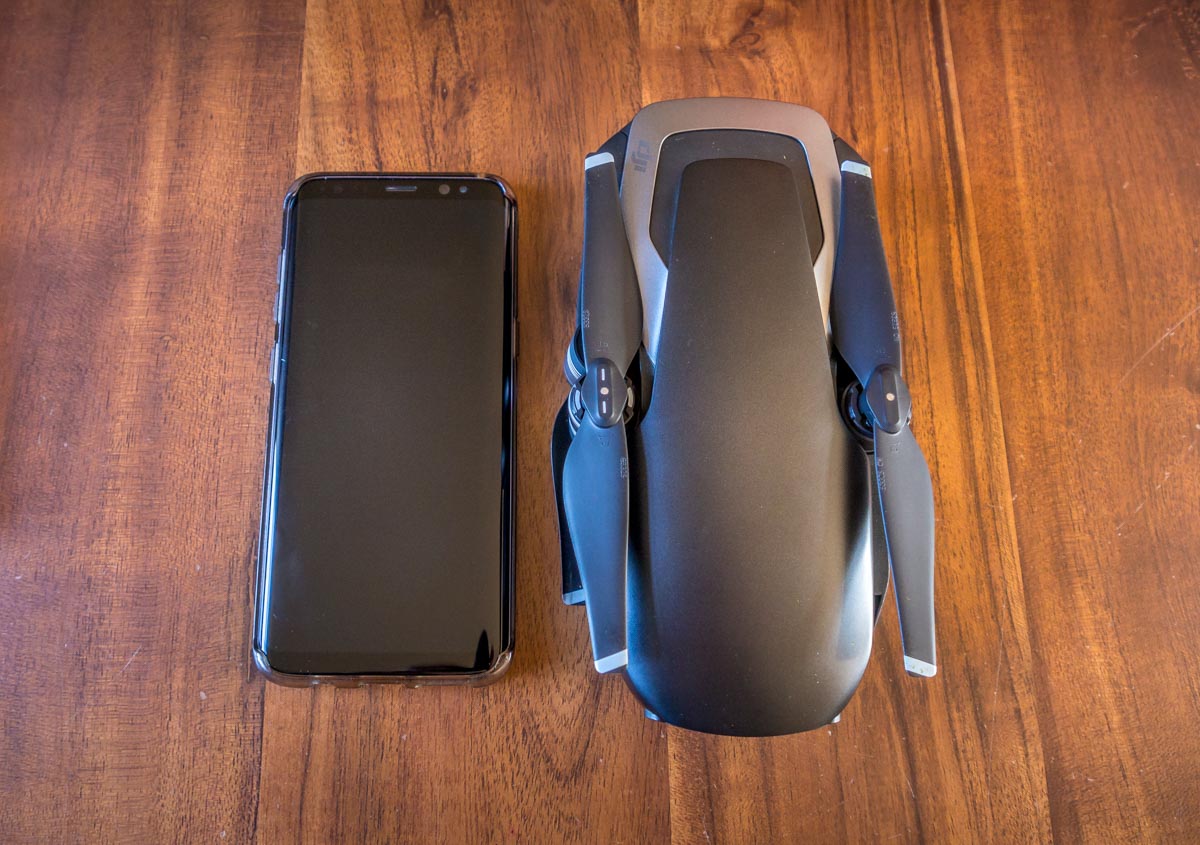
Size! This a perfect accessory for a hiker and traveller like me, the Mavic Air folds down to the size of a fat smartphone, and is very light. Carried around with ease.
Please Note: I went out and bought this drone off my own back and am not sponsored in any way for it 🙂
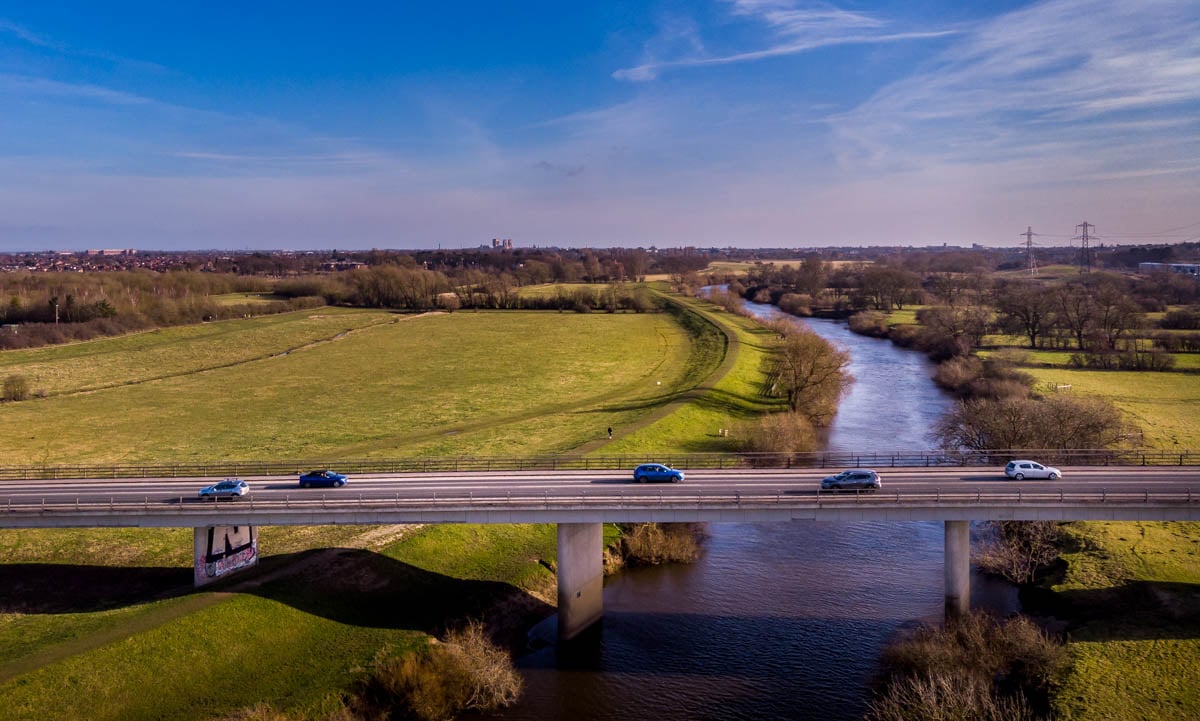
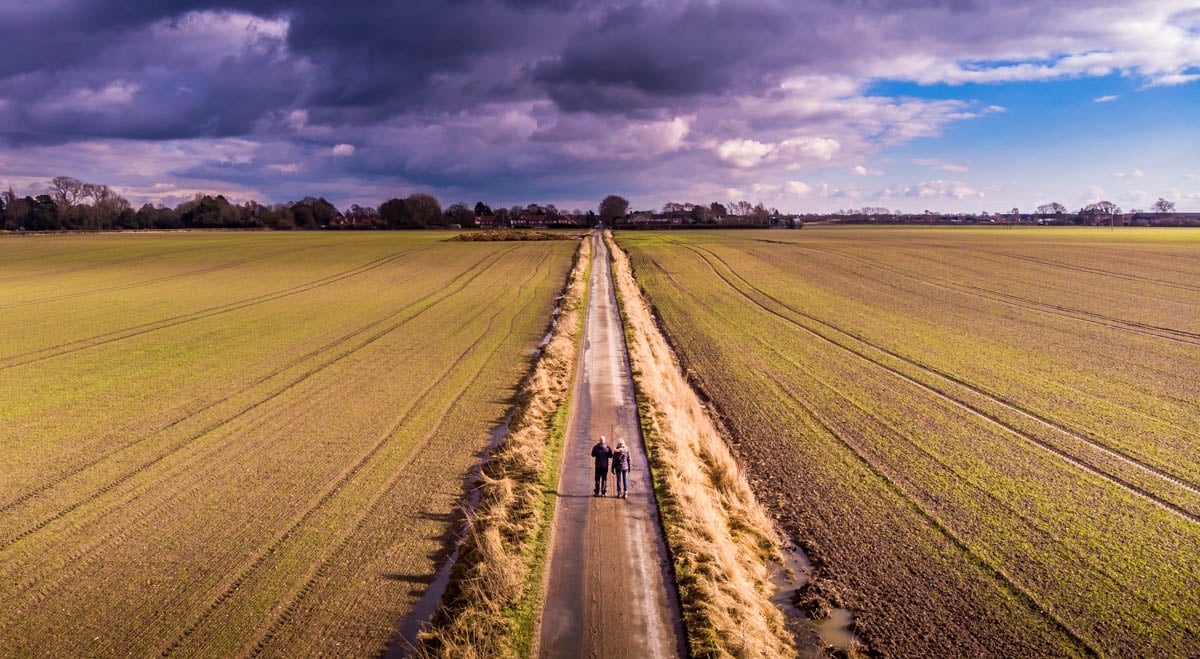
I will be going a lot further into video and the controller and controls etc in the next post on this subject so stay tuned if you would like to see more about the workings and flying of it. What I wanted to show here that you can use it, as I do, to expand the world around you, give whole new perspectives and see beyond the path in front of you.
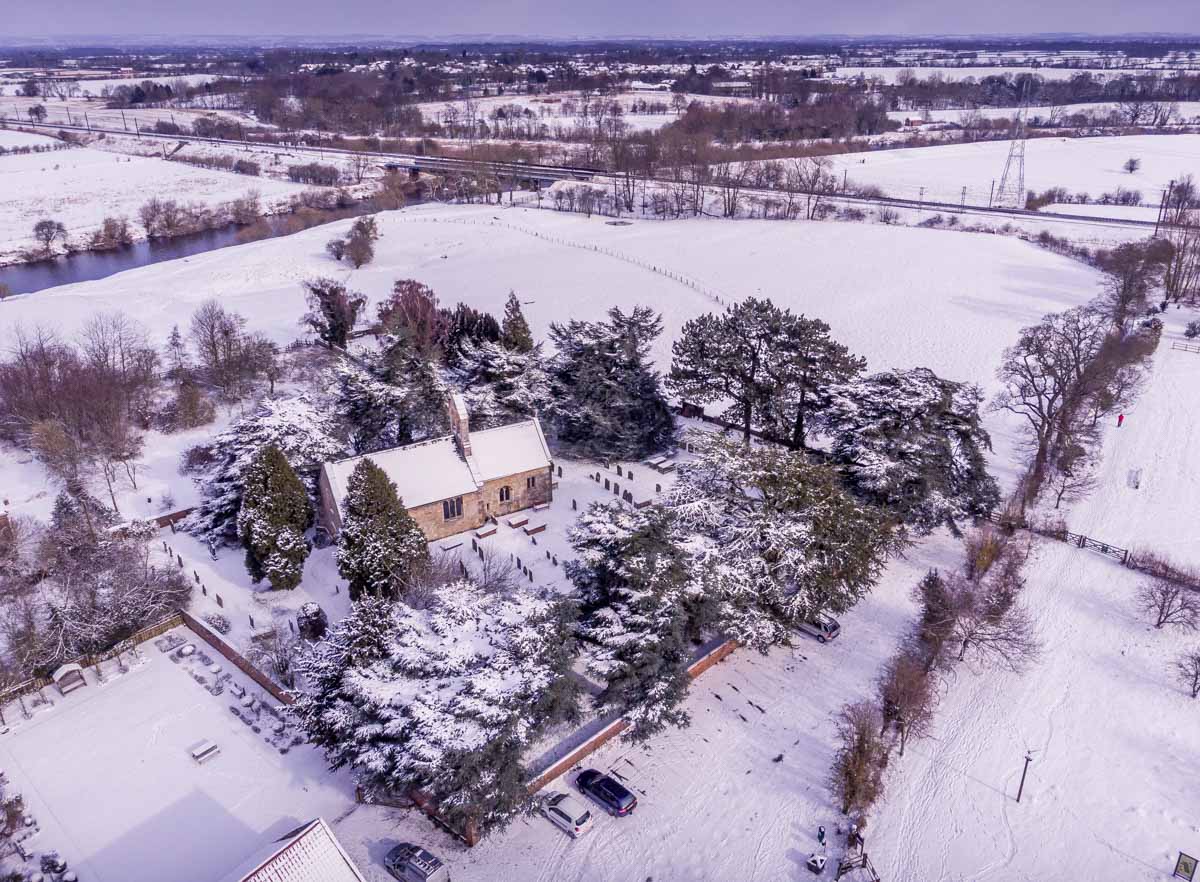
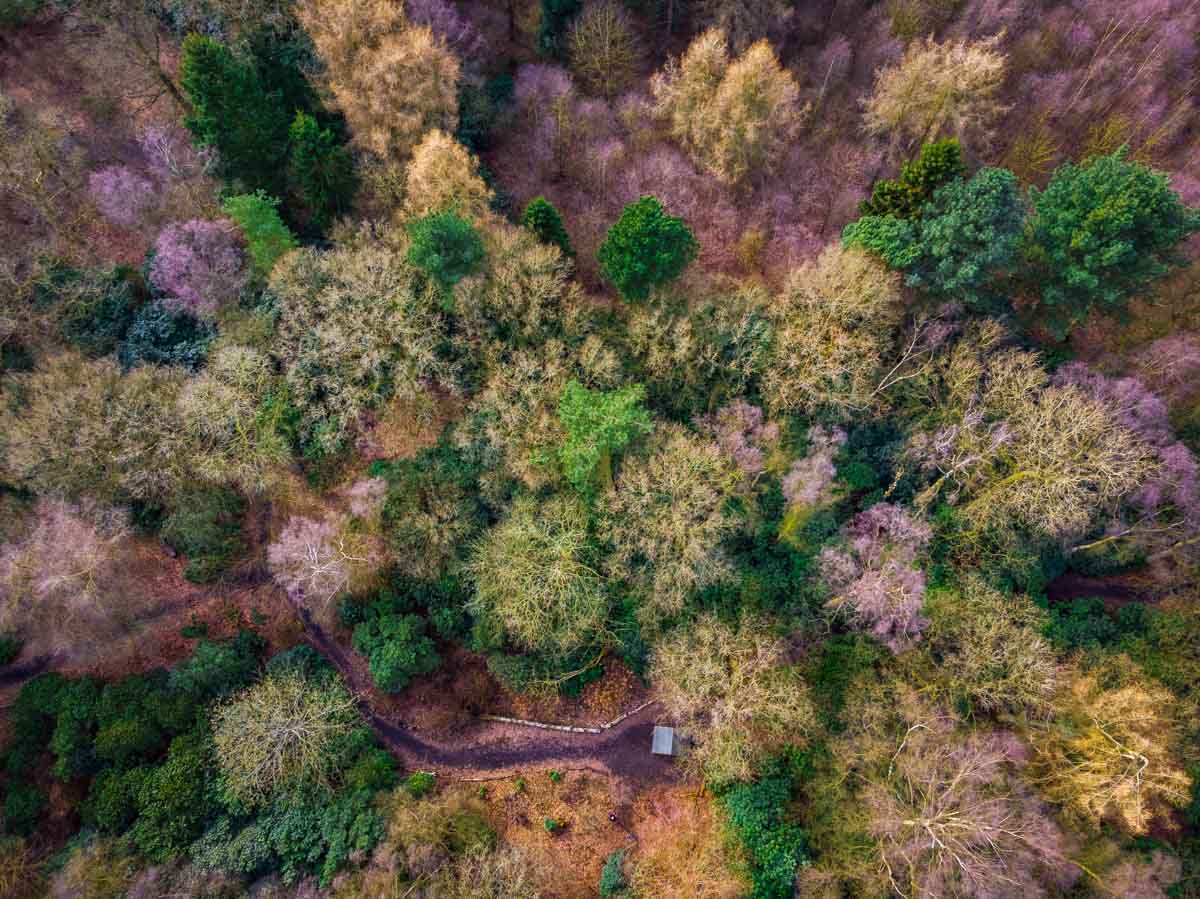
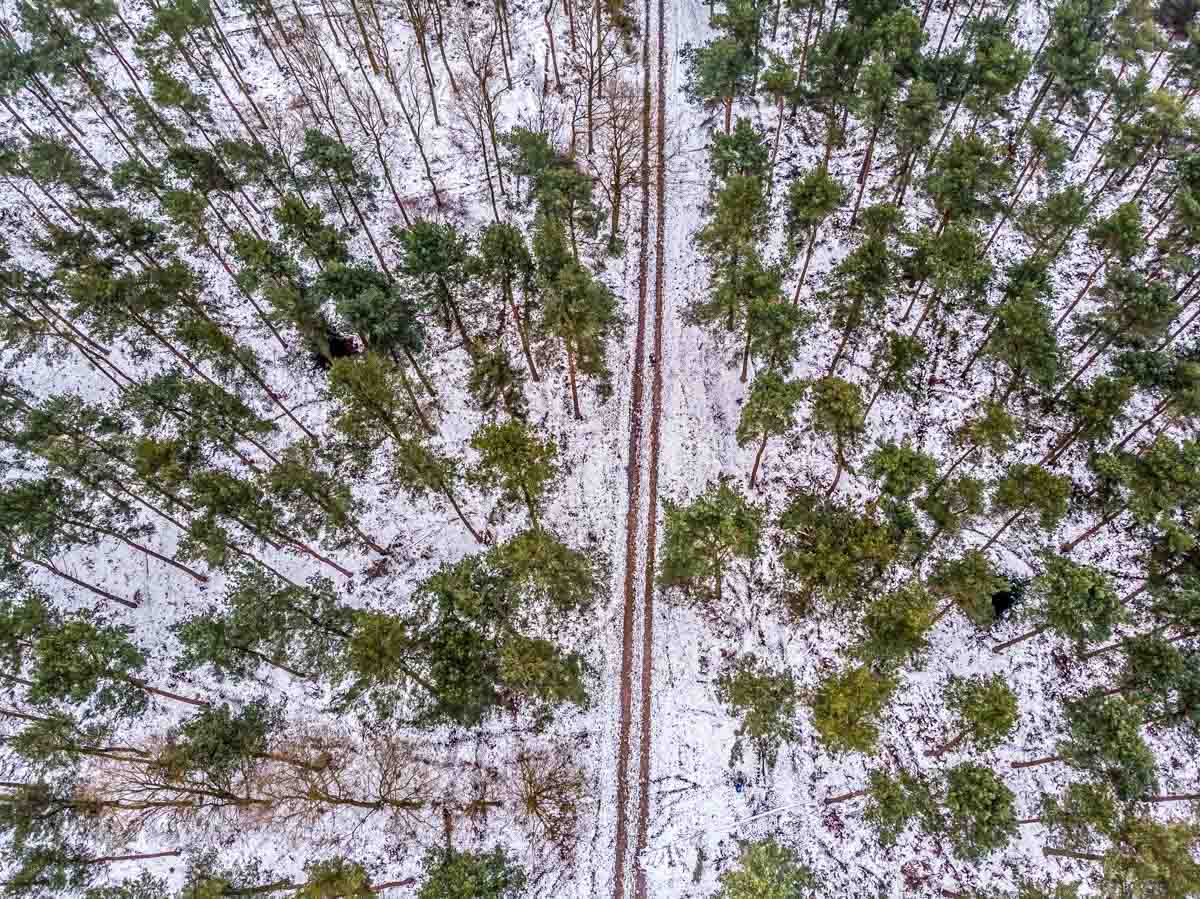
Views from above, looking down from above the tree tops is a favourite you will see a lot.
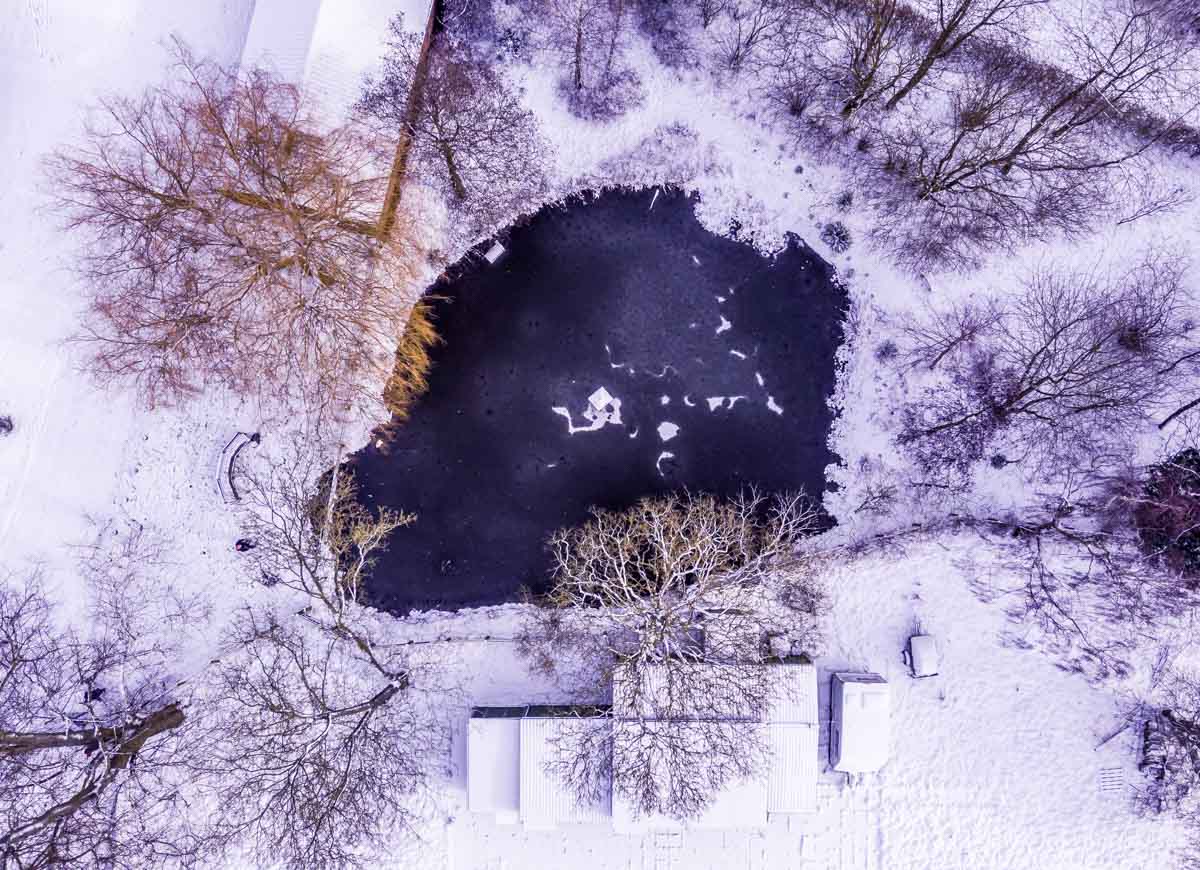
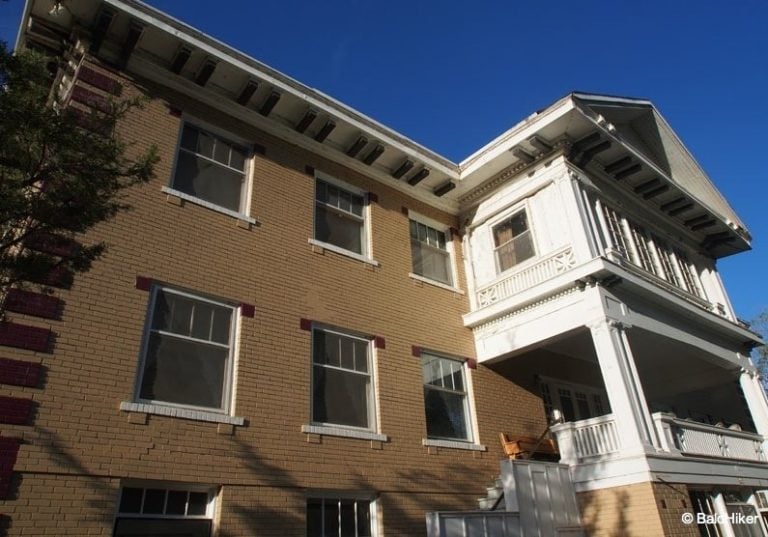
Take in the surrounding areas and places. Please be careful of the drone law when doing these. Avoid where people are and not to fly over property without permission. I also make sure I am not invading anybodies privacy by close ups of people’s gardens and windows etc.
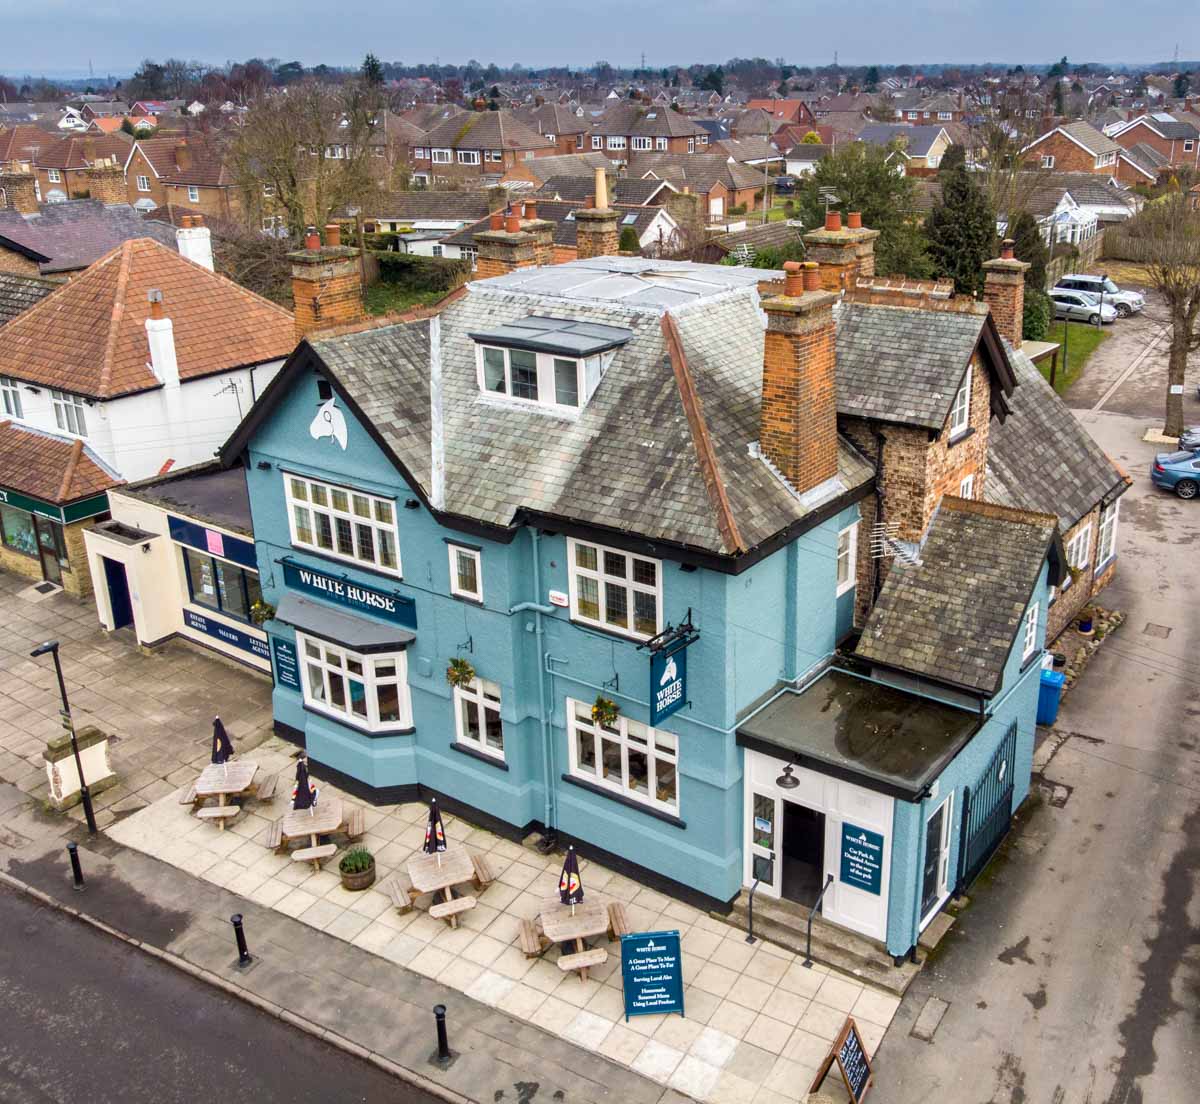
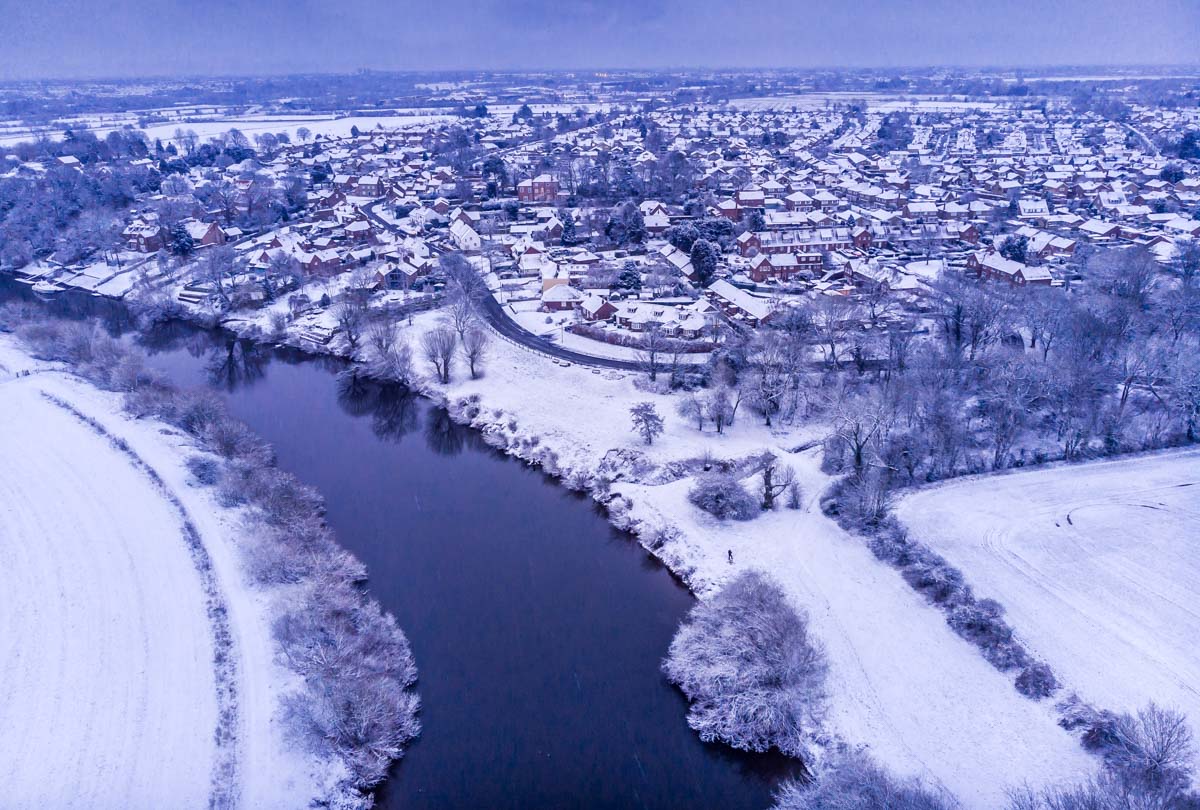
I have been asked a lot about these tester pics I have been sharing out on social media and wanted to explain here a little intro about what I use to get them. I will be going into more detail soon on the technical side, remote, video modes and more. And sharing more of course!
Safe flying all

Hi Paul – When will you be going more into detail on the technical side? 🙂 Thanks, Chris.
Hi Chris, looking to get a tech side review out in next week or so. cheers